In some cases, you want to ask website visitors to upload a document. This article shows you how to create a file upload option in a Chatbot.
Uploading a file
There many scenarios which might require a website visitor to upload a document or image:
- employers ask prospective employees to upload a resume
- cryptocurrency dealers request documents before opening retail accounts
- customer service reps request images of damaged products
The File Upload tool can upload images or documents. You can ask website visitors to upload one type of document per Message block. If you want website visitors to upload an image and document, you need to create 2 separate requests in 2 different Message blocks.
1 Opening the Message block
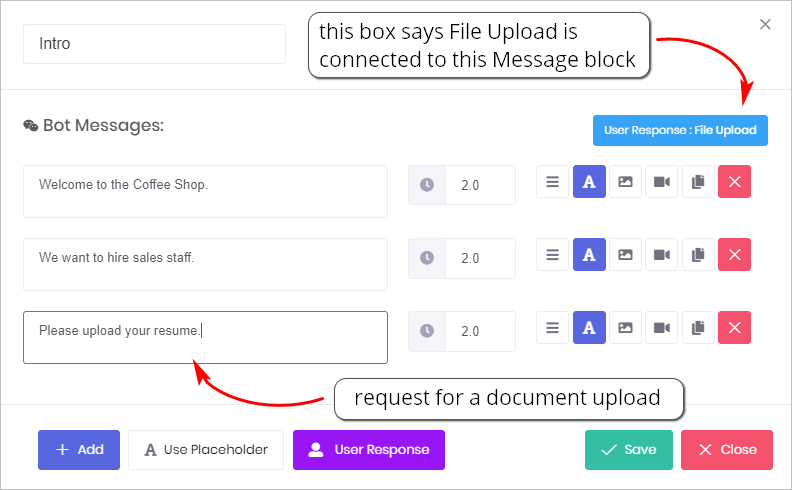
You place a File Upload request inside a Message block.
- Go to the Builder page.
- Locate the Bot you want to edit and then click Edit on the toolbar. The Builder page displays.
- Locate the Message block that will contain the user response.
- Click the Message block. The Message panel displays.
- Click Add to insert a new message line.
- Type a sentence that asks visitors to upload a document.
2 Inserting the file upload tool
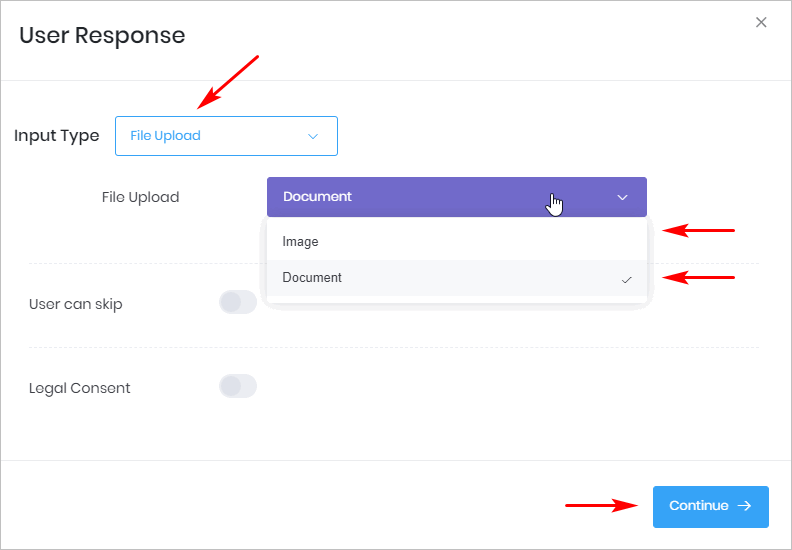
You place the File Upload tool inside a Chatbot by opening the User Response panel.
- Click User Response at the bottom of the Message panel. The User Response panel displays.
- Click the box beside Input Type. A drop-down menu displays.
- Select File Upload.
- Click the Document box. A drop-down menu displays.
- Select Image or Document.
- Click Continue. The Message panel displays.
- Click Save.
3 Previewing the Chatbot
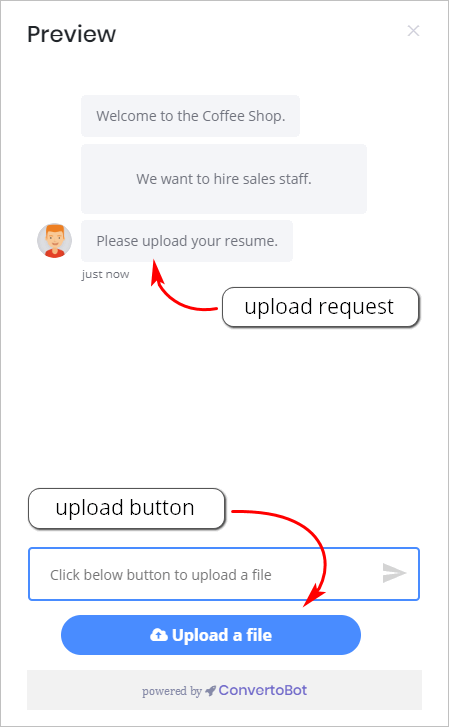
After placing a File Upload request inside one Message block, you can preview the results.
4 Customizing the request
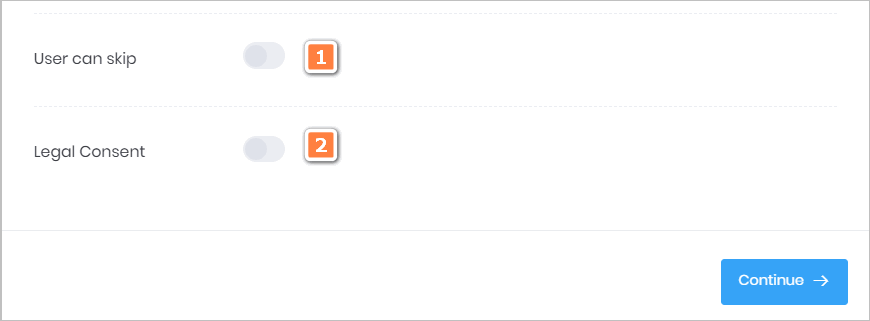
The User Response panel has 2 customisation features.
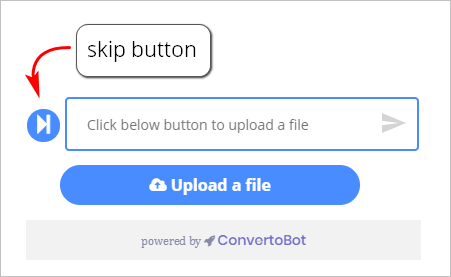
1 User can skip
- Click this toggle if you want to make button selection optional rather than required. In most cases, this option won’t be used because you want users to make a choice.
- The toggle places a blue button near the bottom of the Chatbot (see image below).
2 Legal Consent
- Click this toggle if you want to add a statement to the Chatbot that verifies a website visitor agrees to your privacy policy.
- For more information see: Adding Legal Consent.
