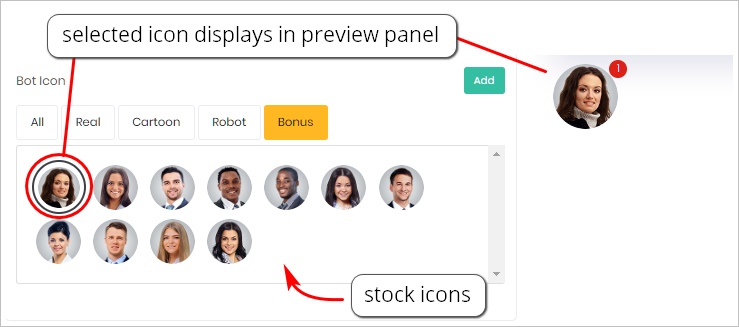
This article shows you how to customize the appearance of your Chatbot by changing the Bot Icon. The Bot Icon is the small face that appears in the Chatbot display. You can customize your Chatbot with a stock icon from our menu or upload your own image.
1 Selecting a stock image
- Open the Design page.
- Go to the toolbox on the left side of the page.
- Click Bot Design. The box expands with a menu of faces.
- Select an image from the menu.
- Review the image display in the preview panel.
- After selecting the final option, click Save at the top of the page.

2 Adding a custom icon
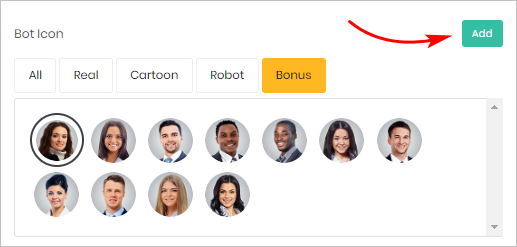
If you don’t like the supply of stock icons, you can upload your own image. The suggested minimum image size is 100 x 100.
- Go to the toolbox on the left side of the page.
- Click Bot Design. The box expands with a menu of faces.
- Click the green Add button. The Select Image panel displays.
- Upload an image.
- Review the image display in the preview panel.
- After selecting the final image, click Save at the top of the page.

For more information about image upload options, see:
3 Saving and previewing the Chatbot
You save your work by clicking the Save button at the top of the page. There is no Preview button for your Chatbot on the Design page. Instead, use a workaround to preview your Chatbot.
- Click the Next button at the top of the page. The page changes.
- Click Next again. The page changes.
- Click View in the top right corner of the page.
- A new page displays your Chatbot in full.

