This article shows you how to manage and update your agency website content. We’ll cover everything from branding your Chatbots to updating your site content.
Branding example
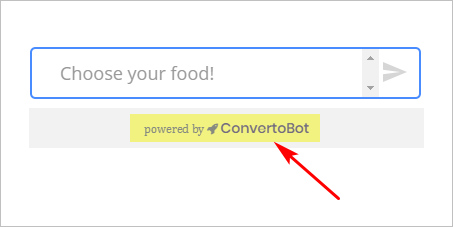
The image below shows ConvertoBot branding at the bottom of a Chatbot. You can replace ConvertoBot with your own brand. The “powered by” slogan, along with the rocket icon, cannot be changed.
1 Changing the brand settings
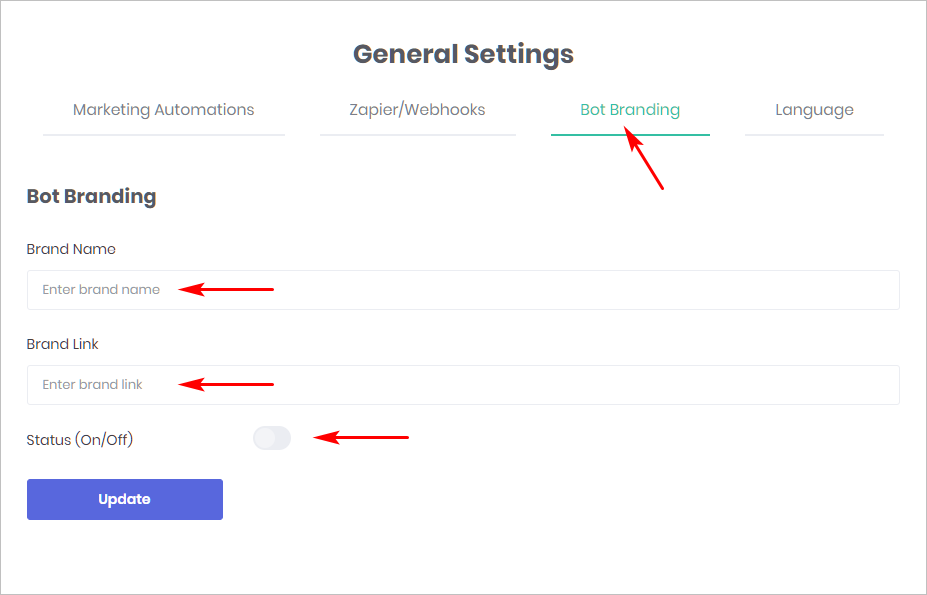
- Go to the main menu on the left side of the page.
- Click General Settings. The General Settings panel displays.
- Click Bot Branding on the top menu.
- Enter your branding text in the Brand Name box.
- Place a link to your website in the Brand Link box (optional).
- Click the Status toggle to the ON position.
- Click Update.
2 Previewing the brand change
- Go to the main menu on the left side of the page.
- Click My Bots. The My Bots page displays.
- Select a Bot and then click Edit. The Builder page displays.
- Click Preview.
- The Chatbot displays on the right side of the page.
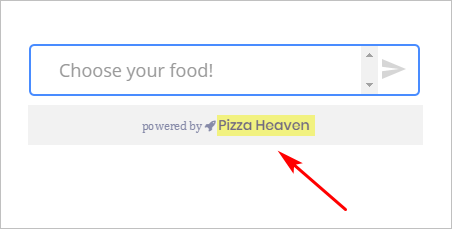
- Check the branding at the bottom of the Chatbot.
3 Update Website Content
- Go to your Agency License page
- Click ‘Website Management’
- Add/Remove content for the following (Optional):
The Website Management has several sections. The first section is called Site Details. It has 7 inputs. We think 4 inputs are required; 3 inputs are optional.
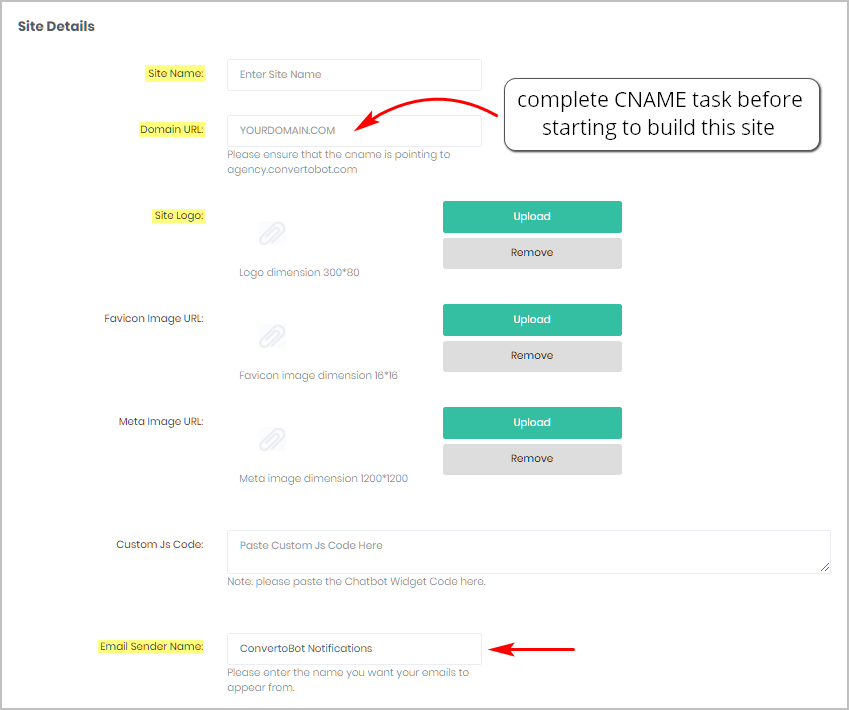
Site Name
The name of your site.
Domain URL
Enter the domain name of your site. Change the CNAME record of the domain on the domain registrar’s site and allow time for the change to take effect (2 to 4 hours) before building this site.
For more information about changing a CNAME record, see:
Site Logo
Upload an image for your site’s logo. The suggested image size is 300 x 80 px.
Favicon Image (optional)
Upload an image for the favicon. The suggested image size is 16 x 16 px.
Meta Image (optional)
Upload a meta image which can be used for social media posts. The suggested image size is 1200 x 1200 px.
Custom JS Code (optional)
If you want to add Javascript, paste the snippet here.
Email Sender Name
If you send automatic email messages to customers, this name appears in the message.
4 Configuring your portfolio
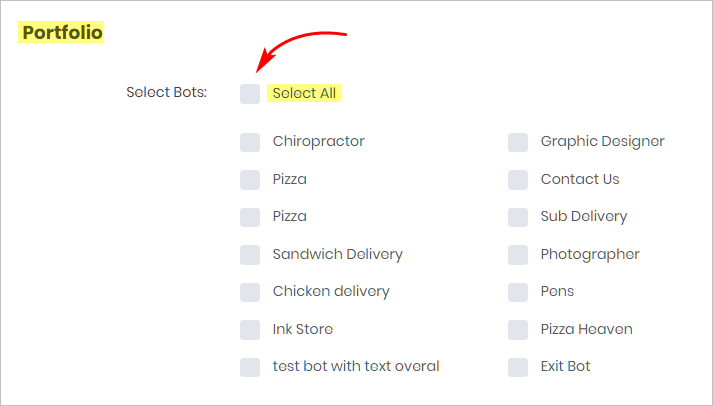
The next section is Portfolio. The Site Builder page lists all of the Bots in your My Bots page.
- Check the Bots you want to display in your portfolio.
- Check the Select All box to include all of the Bots.
5 Customizing pre-populated text
The next three sections provide boxes of information for your site. Each box is pre-populated with suggested text. You can keep it, edit it, or change it.
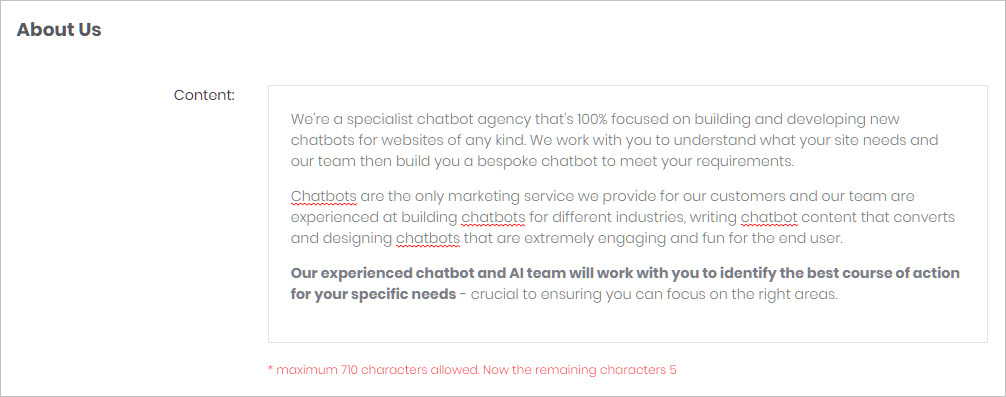
About Us
This generic text describes a Chatbot agency. The maximum character length for this box is 710.
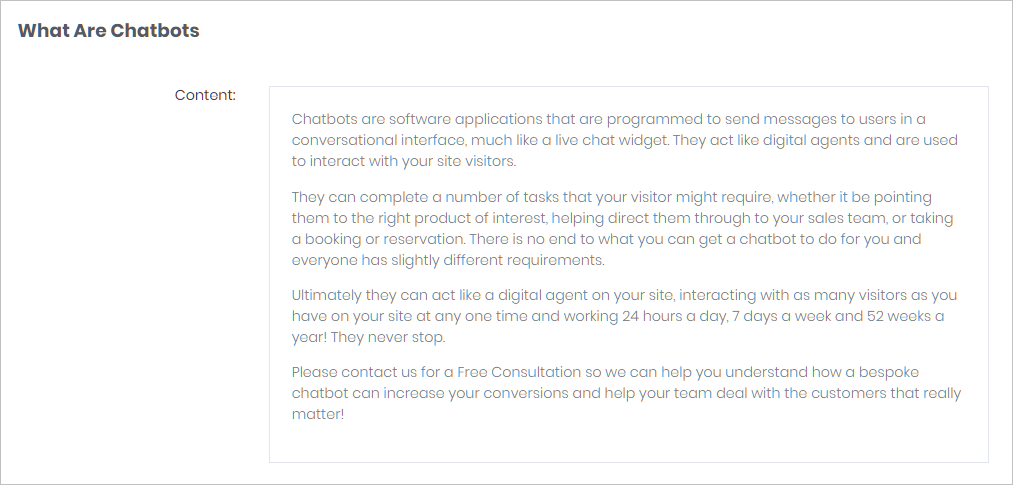
What Are Chatbots
This generic text provides an overview of Chatbots. There is no maximum character length for this box.
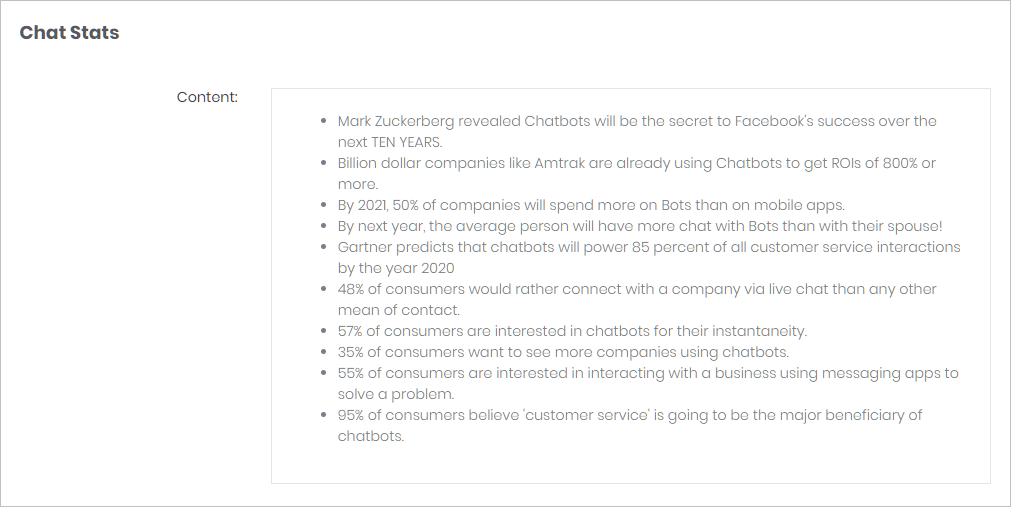
Chatbot Stats
Bullet text with background information, stats, and Chatbot trivia.
6 Adding testimonials
Insert client testimonials in this section. If you don’t have any testimonials, this section isn’t visible on the website.
- Enter the name of the person.
- Type in the testimonial.
- Upload an image, if available.
- Click Add to insert a new testimonial and then repeat the process.

7 Inserting contact information
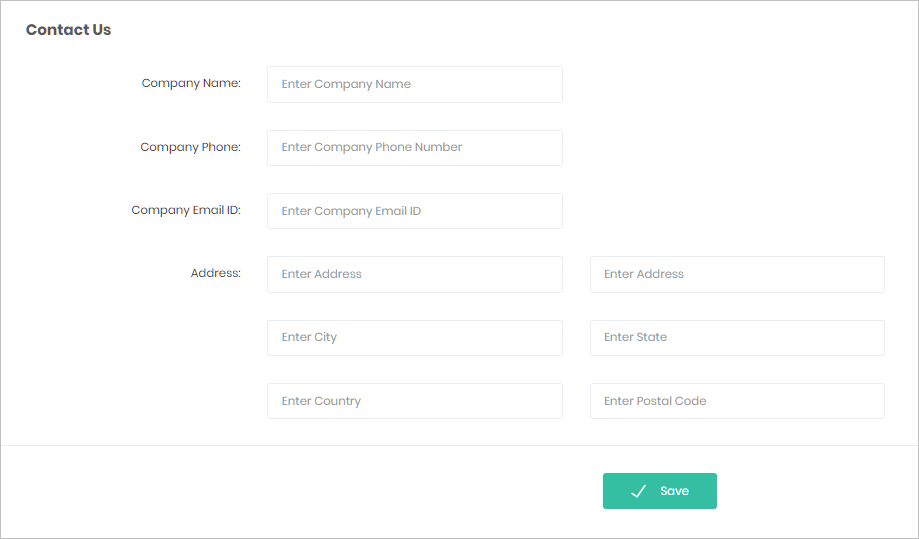
- Insert company and contact information.
- Click Save.
