This article shows you how to use the Auto Chatbot Builder (ACB) form to create a Chatbot. The ACB is a simple tool that helps you create new Bots in a few seconds.
1 Opening the ACB page
- Go to the menu on the left side of the page.
- Click Dashboard.
- Scroll up to the top of the page and then click Auto Chatbot Builder. The ACB form displays.

2 Understanding the ACB form page
The ACB form page has three main sections. You need to enter data and make choices in each section.
The three mains sections are:
- Company Details
- Chatbot Details
- Template Section
3 Adding company details
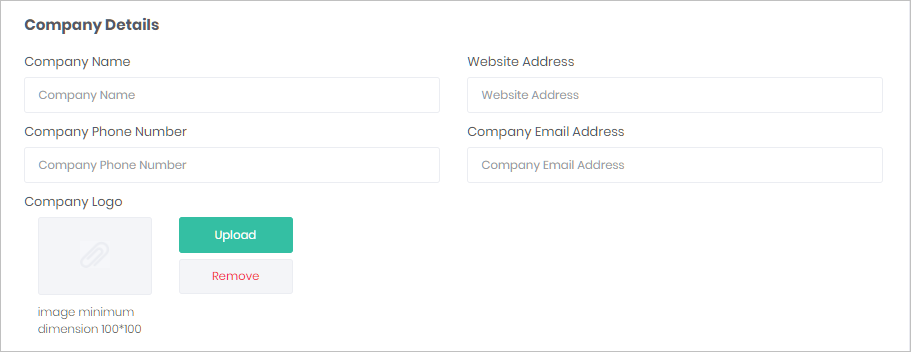
Enter your company information. Not all of this information will be displayed in your Chatbot; that depends on the Chatbot template you select. Each Chatbot option has a different design.
- Scroll down to Company Details.
- Enter the information.
- Upload a company logo.

4 Adding chatbot details
- Enter the name of your Chatbot in the box.
- Select an icon from the stock images or upload a custom icon image.

5 Selecting a chatbot template
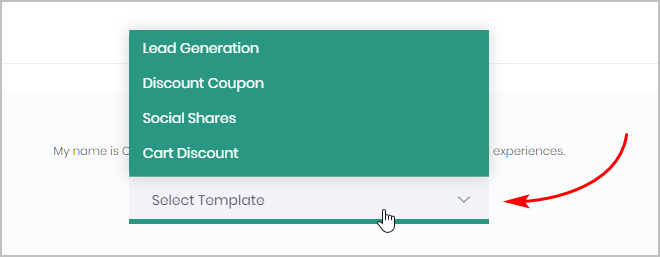
- Scroll down to the bottom of the page.
- Click Select Template. A menu displays.
- Select a template that matches your requirements. The template Settings panel displays.

6 Customizing a template
Each ACB template has a Setting panel. You can customize the Chatbot by adding unique information.
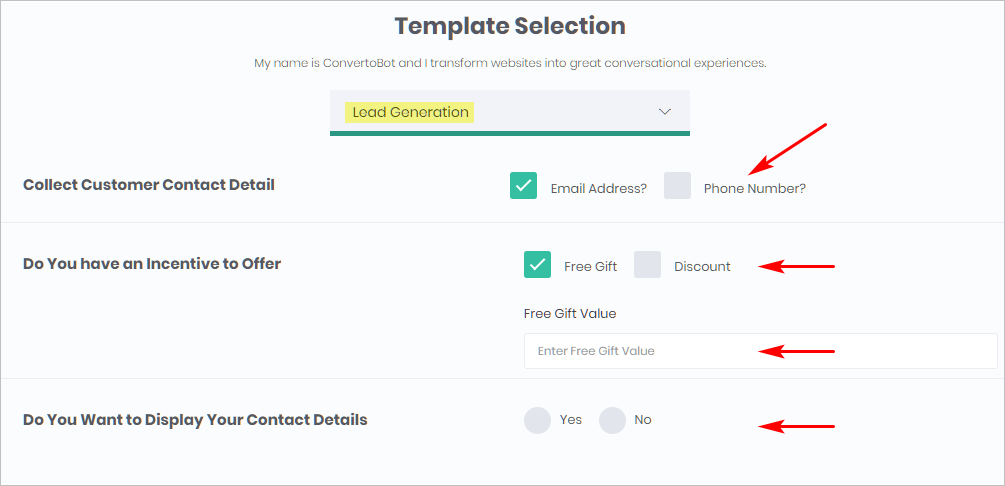
The information requirements of each ACB template Settings panel are similar. Below is one example. It is the Lead Generation template.
- Check the phone number box if you want to collect that information. The Email box is checked and cannot be unchecked.
- Select an incentive. You must select either Free Gift or a Discount. Enter the dollar value of your gift (with a $ sign) or a percentage amount for the discount (with a % sign).
- Select an option for Display Contact Details.
- At the bottom of the page, click Launch. The Chatbot now displays on the My Bots page.
- To edit your Bot, go to the My Bots page and then click Edit on the menu.

